I love good gluten-free bread, but they can be tricky to bake. This one takes a few hours (soaking the buckwheat groats, which can be done overnight), but it’s low effort and it tastes amazing. Minimal ingredients, easy and affordable to make.
Buckwheat is an amazing gluten-free whole grain, packed with protein, fibre and some essential minerals. Buckwheat is a real powerhouse! I am an advocate for varying your foods and adding or swapping your grains in your diet is beneficial for your gut microbiome and overall health, as you provide your body with different nutritional profiles.
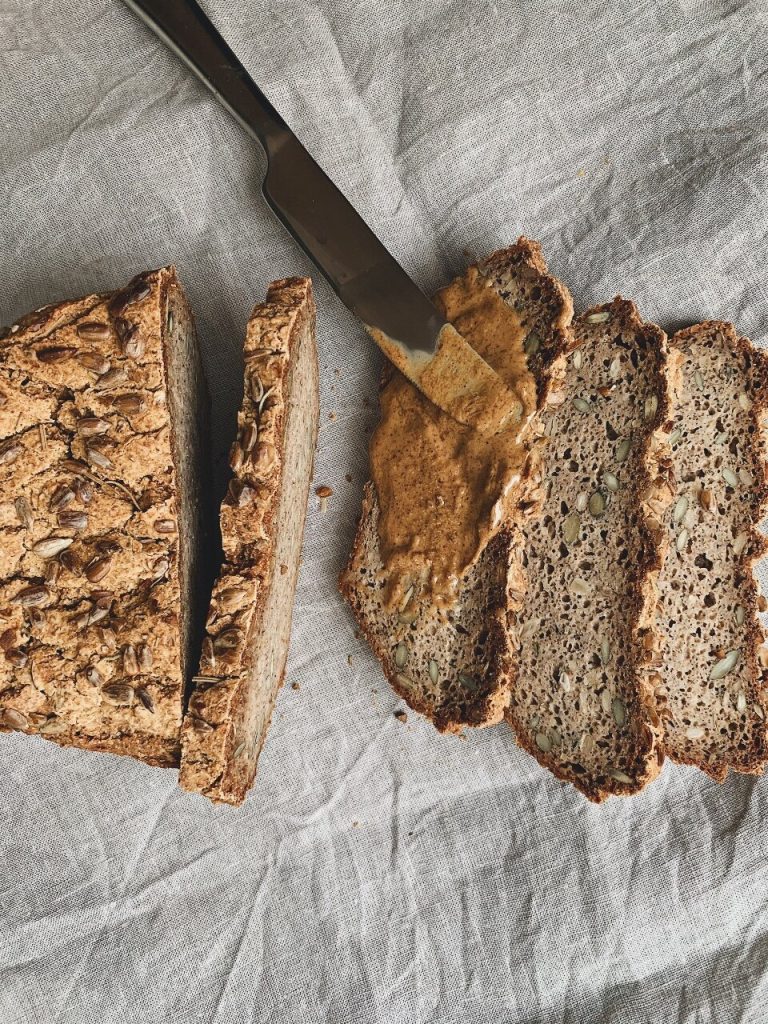
I absolutely this gluten-free bread with avocado or peanut butter and banana! It makes great sandwiches also. Feel free to experiment with different seeds or add some herbs to make it your favourite flavour!
Ingredients
500g raw buckwheat groats
1 cup baked sweet potato, mashed
1 tsp baking soda
1 tbsp apple cider
1 heaped tbsp tahini (I haven’t tried with nut butter, but I bet it should be fine)
1/2 tsp salt, a pinch of black pepper
1/4 cup of filtered water, plus 2 tbsp extra (if needed)
2 handful of sunflower seeds or mixed seeds of choice, plus more for sprinkling on top of the bread
Method
- Rinse buckwheat groats well, and then put the buckwheat groats in a large bowl or a pot and add in 1-2 cups of cold water. You want it to be enough to cover all the groats and make sure they are submerged all the time (they will expand a little after 30min or so, so check the water level). Put a cotton cloth or a clean kitchen towel over the bowl to keep it covered, but still let it ‘breathe’.
- Let the buckwheat soak for 6-8 hours, to get the fermentation started. You might see a few bubbles appearing on top. That’s great! I tend to soak the groats overnight and then bake the bread in the morning. Or you can soak them early morning for your evening baking activity.
- After the soaking, if there is a lot of excess water, let it drain. Meanwhile, prep your bread tin by greasing it lightly with olive oil or using baking paper.
- Next, put the soaked groats into a blender and pulse a few times. Add the rest of the ingredients, except the sunflower seeds and the 2 tbsp of water.
- Blend the mixture until semi-smooth. I usually aim for a creamy, semi-smooth white-ish dough. If the dough seems dry and hard to blend, add the extra tablespoons water. Don’t overdo it though, you want the dough to be wet and a bit sticky to be able to still blend it, but it will not be near to runny.
- Add the seeds and pulse 2-3, to make sure some seeds will stay as a whole (it gives a nice texture).
- Pour the dough in the baking tin and leave it to rest in a room temperature for around 45min – 1 hour. Cover with a cotton towel and let it rise a little (it will not be as tall as normal yeast bread, but you should see a little more volume).
- Set the oven to 185C/ 365F initially and, when ready, sprinkle a few extra seeds on top.
- Bake at 185C for 30 minutes and then decrease the temperature to 175C and bake for another 30 minutes. You should see the bread getting a nice brown colour and crispier on the edges. A few cracks on top are also a good sign.
- Take out of the oven, let it cool slightly in a tin and then remove and put it on a rack. Slice and enjoyed when completely cooled. It will last in a glass container for 2-3 days – best on day 1 and 2. It toasts well and freezes well also- just make sure you slice it before popping into a freezer.