EASY GLUTEN-FREE VEGAN BREAD
You will love this bread!
Since I started to eat more wheat-free or gluten-free, my goal has been to find a bread recipe that doesn’t require 18 complicated ingredients or that doesn’t cost an arm and a leg. Another thing that annoyed me about homemade gluten-free bread is that it tends to break so easily that it can be impossible to have a slice of toast, not mentioning a good old sandwich…
This loaf is perfect for the whole family – my daughter loves it and I also have been giving it to my baby since he was around 8-9 months old. It’s done with minimal ingredients and it’s easy and affordable to make. Perfect wholegrain goodness too!
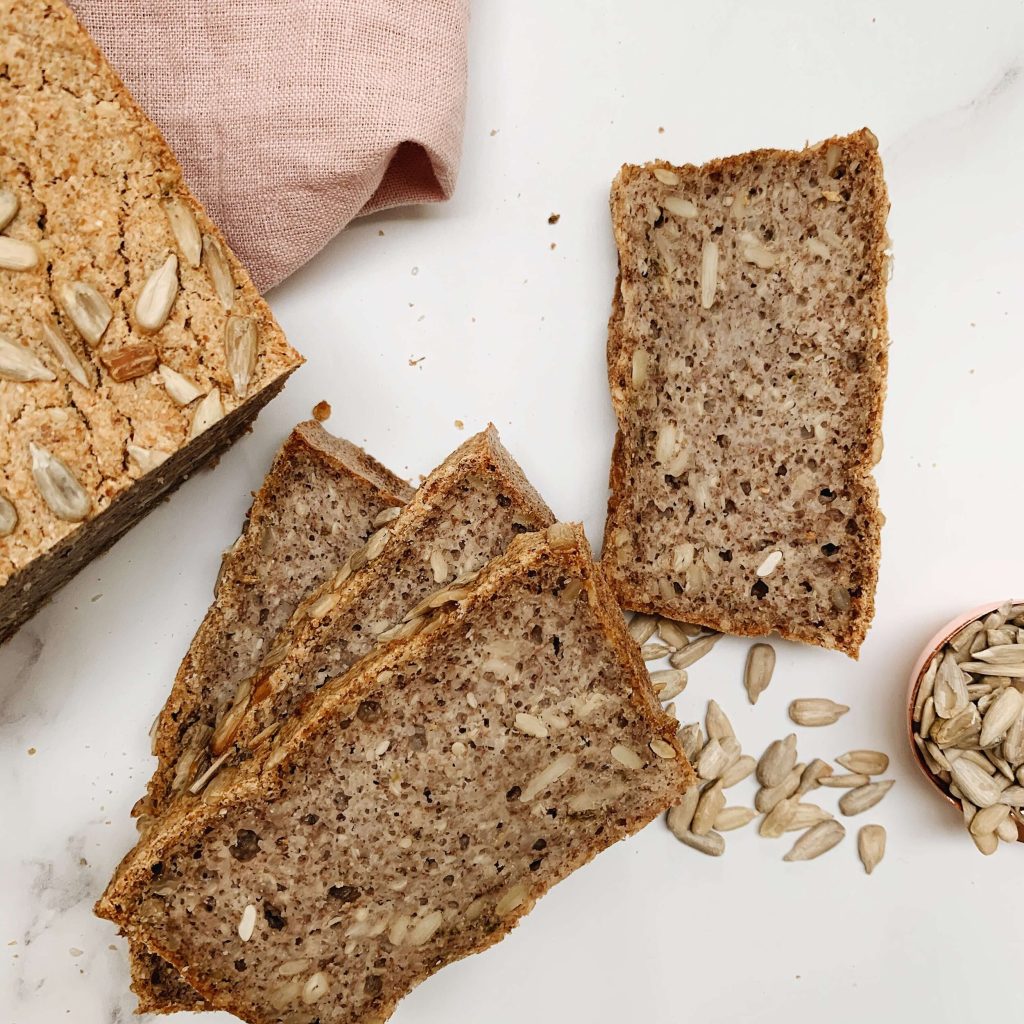
The bread is nutritious and tastes great either fresh or toasted. Hemp and sunflower seeds add extra protein too. I absolutely love it with avocado or peanut butter and banana! When baked, the bread will taste great for around 5 days, but it never lasts that long in our house 🙂 I recommend keeping it sealed in the fridge if not eaten within first 2 days. Freezing also works perfectly, but I advice you slice it beforehand. Enjoy!
Ingredients
- 1 pound (500g) of raw buckwheat groats
- 2-3 tsp of salt
- 1/3 cup of sunflower seeds
- 1/3 cup of pumpkin seeds
- 1/3 cup of hemp seeds
- (optional) dry herbs like rosemary or thyme
Method
- Put buckwheat groats in a large bowl; something with enough room for expansion.
- Pour approx. 1-2 cups of cold water- just enough to cover all buckwheat groats.
- Let the buckwheat soak for 24 hours to get the fermentation started. Add more water if needed to make sure the grains are all covered at all times. You can put a cotton cloth over the bowl to keep it covered over night, but still let it ‘breathe’.
- After around 15-24 h, you should see little bubbles – a good sign! Line a bread loaf tin with a baking paper.
- Add salt and mix it well in a bowl.
- Put the whole buckwheat mixture into a blender and blend until semi-smooth (or till smooth, depending what texture you prefer). I usually aim for for creamy, semi-smooth white-ish dough.
- Add 1/3 cup of mixed seeds and pulse quickly 2-3 times.
- Add rest of all the seeds and mix them in with a spoon. You want the seeds to stay as whole, so you get a nice texture in each slice!
- Pour the dough in the baking tin and leave it to rest in a room temperature. Cover with cotton towel and let it rise a little (it will not be as tall as a normal yeast bread, but you should see some more volume).
- It can take any time from 1-4h for dough to rise, so monitor it closely after a few hours.
- When ready, sprinkle a few extra seeds on top and set the oven to 180C/ 360F.
- Pop in the oven and bake for approx. 1h. You should see the bread brown and crispier on the edges. A few cracks on top are also a good sign.
- Take out of the oven and let it cool before removing from the tin and slicing.
PS- seeds type and amount can be adjusted to your liking. You may try adding some walnuts also!